DIY Ambilight with HDMI 2.1 support
Ambilights are LEDs that are mounted on the back of a TV screen and are synchronized with the on-screen content, creating an immersive and more comfortable visual environment.
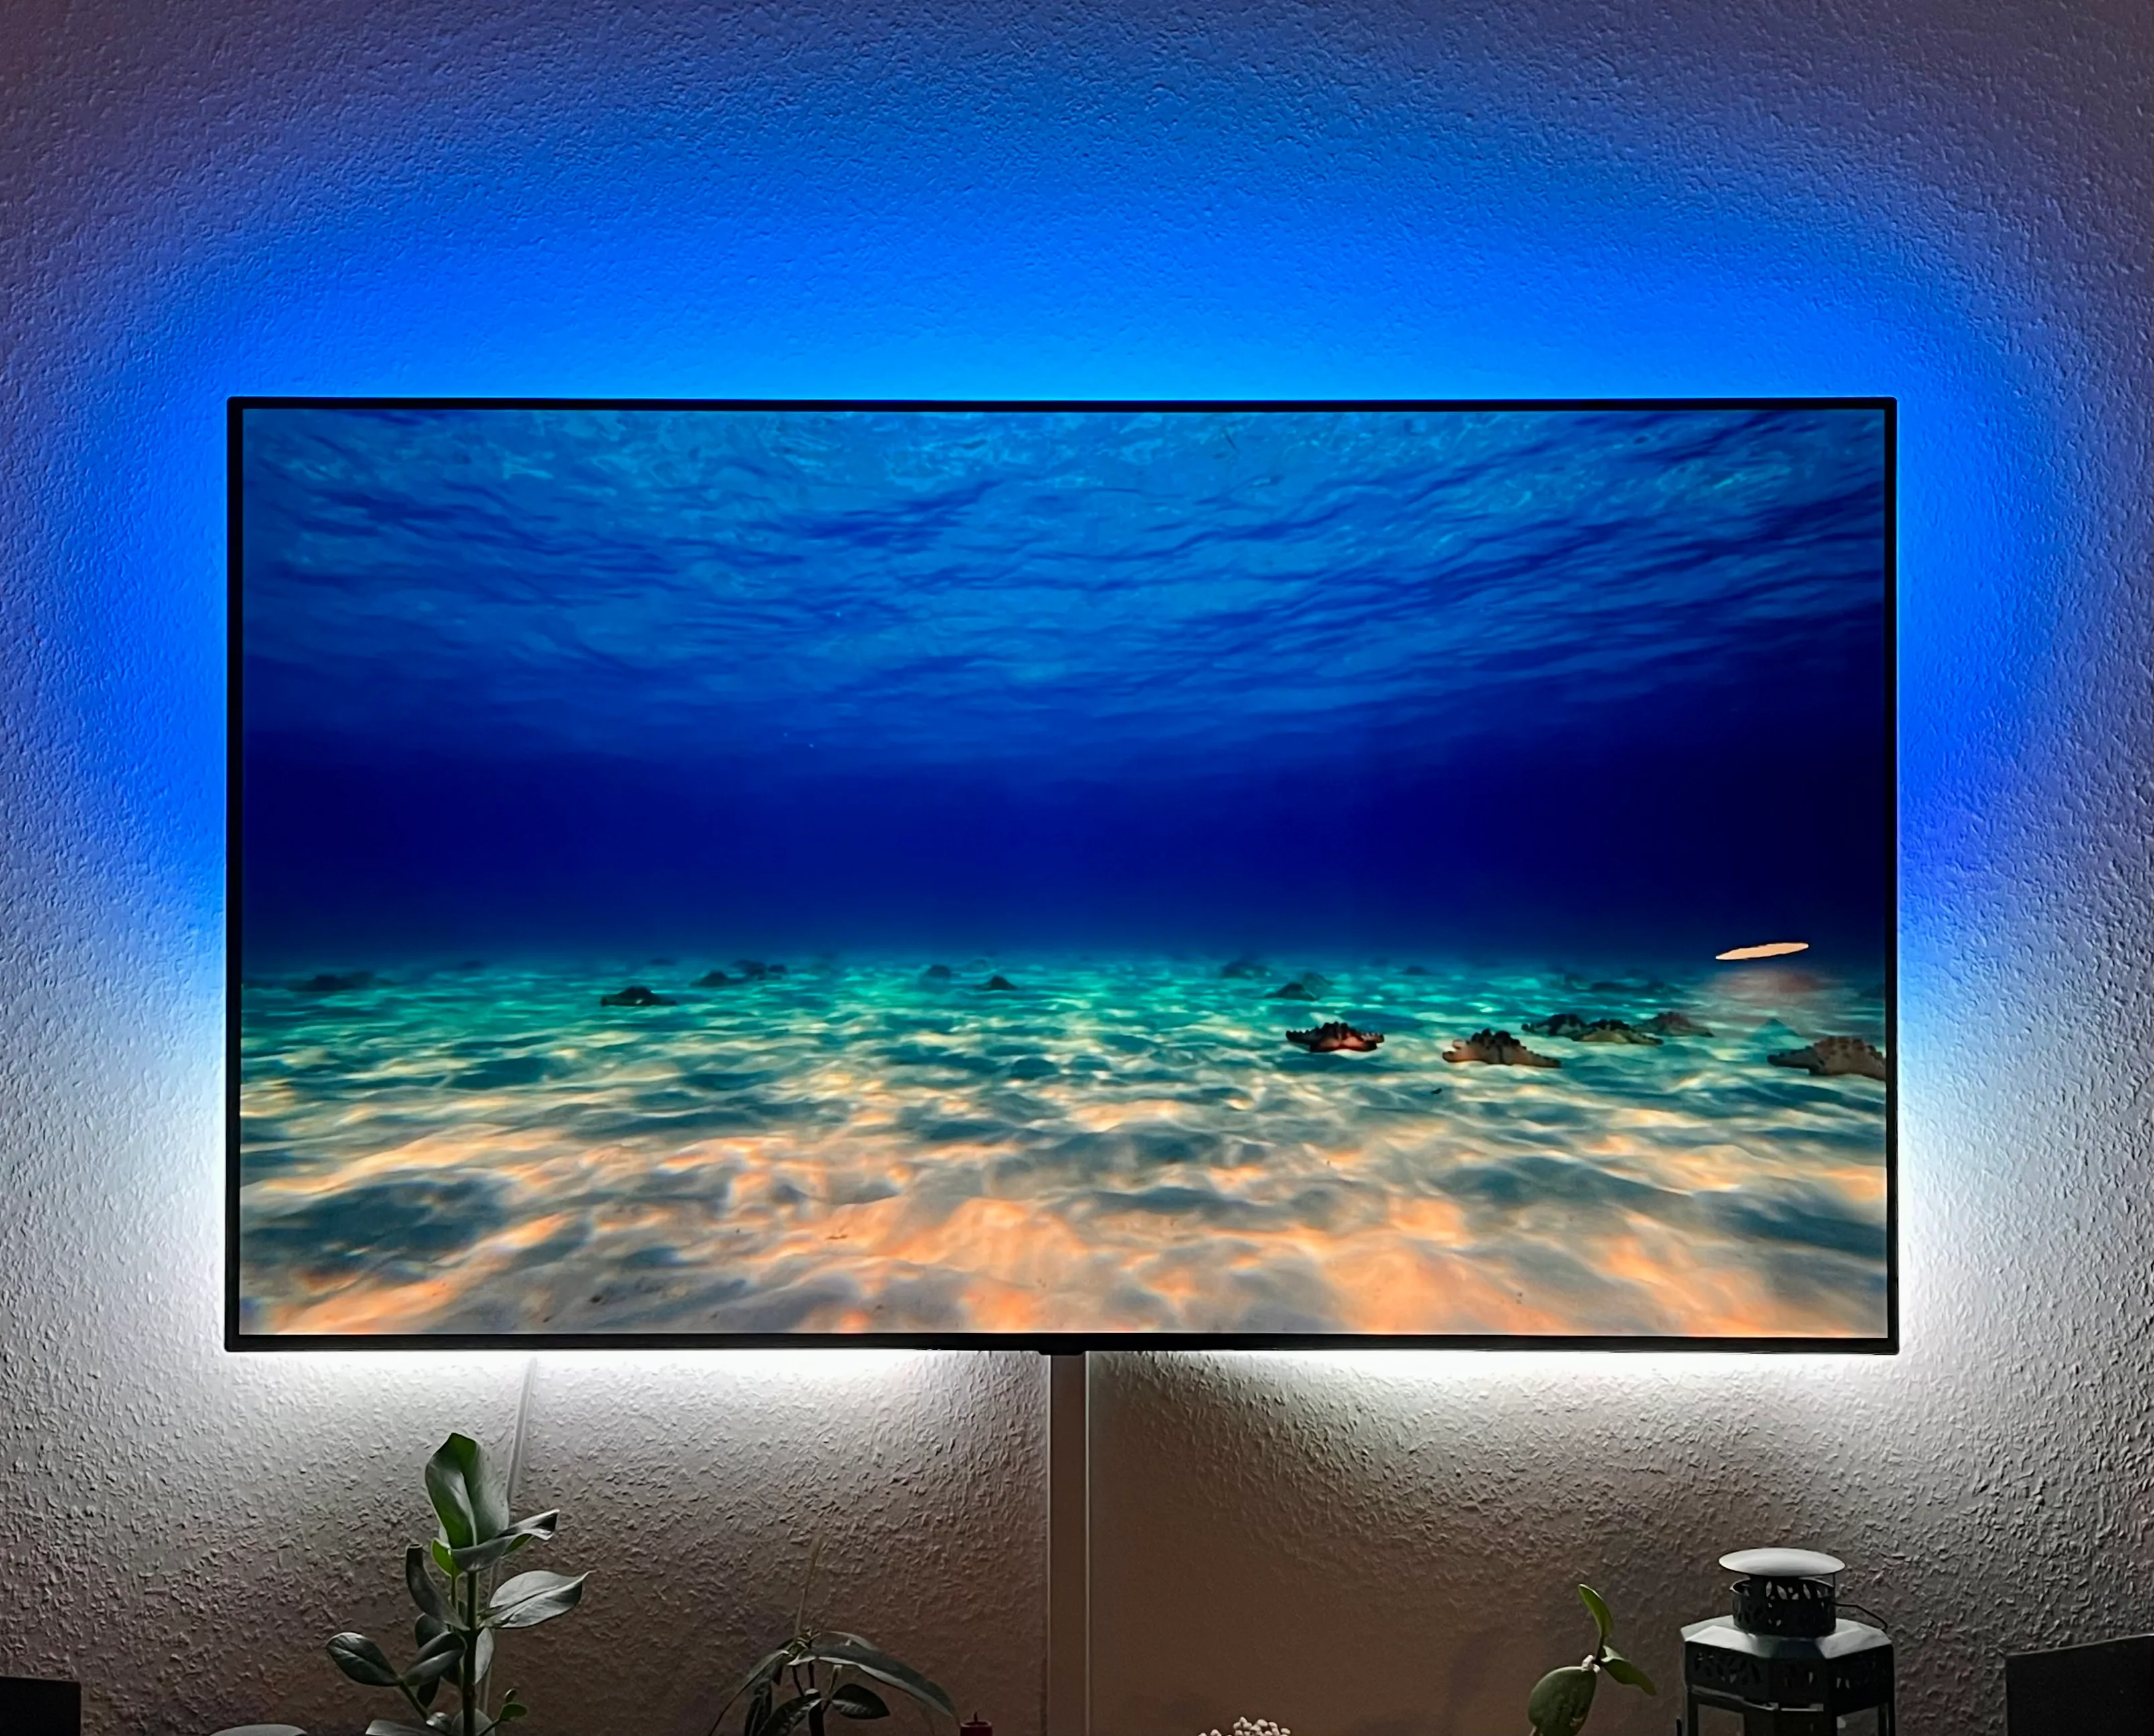
My ambilight looks like this:
There are four methods how to build an ambilight:
- buy a TV with ambilight built in: only philips sells TVs with ambilight built in
- hdmi grabber: works by intercepting the hdmi signal and reading the pixel information from it
- DIY
- Philips Hue Sync Box (only supports HDMI 2.0)
- camera: a camera is mounted at the top of the tv filming the content and extracting the color information from it
- software based: the content is read using a program running on the tv
Each method has its pro’s and con’s. I chose the hdmi grabber method, because I already have a TV and I don’t want to mount a camera on it. I tried the software based grabbing using piccap, but the framerate just wasn’t good enough.
My goal was to make everything work with HDMI 2.1, which is still quite new and hardware is more expensive. If you don’t need to support HDMI 2.1, you can just replace the Splitter (and maybe Switch) with HDMI 2.0 ones.
Materials
Here is the list of parts you will need. I’ve added the items I used as reference, just keep in mind that you probably don’t need the exact same items.
- Raspberry Pi (3 or 4)
- HDMI Splitter (Amazon DE)
- HDMI Switch, optional (Amazon DE)
- USB Capture Card (Amazon DE)
- ESP8266/ESP32
- Addressable LEDs (WS2812B or similar)
- Power Supply (5V ~12A)
- A bunch of HDMI cables
The HDMI Splitter only takes one input, if you want to connect more devices to your ambilight/tv, you’ll need a splitter. I will not show you how to automate it in this post, though.
Wiring
The wiring should be straight forward, but I added it here anyway, the whole thing looks quite complex:

Preparing the LEDs
Before setting up the ambilight, you will need to prepare the LEDs by setting up WLED with the ESP device. To get started using WLED, you can follow their quick start guide.
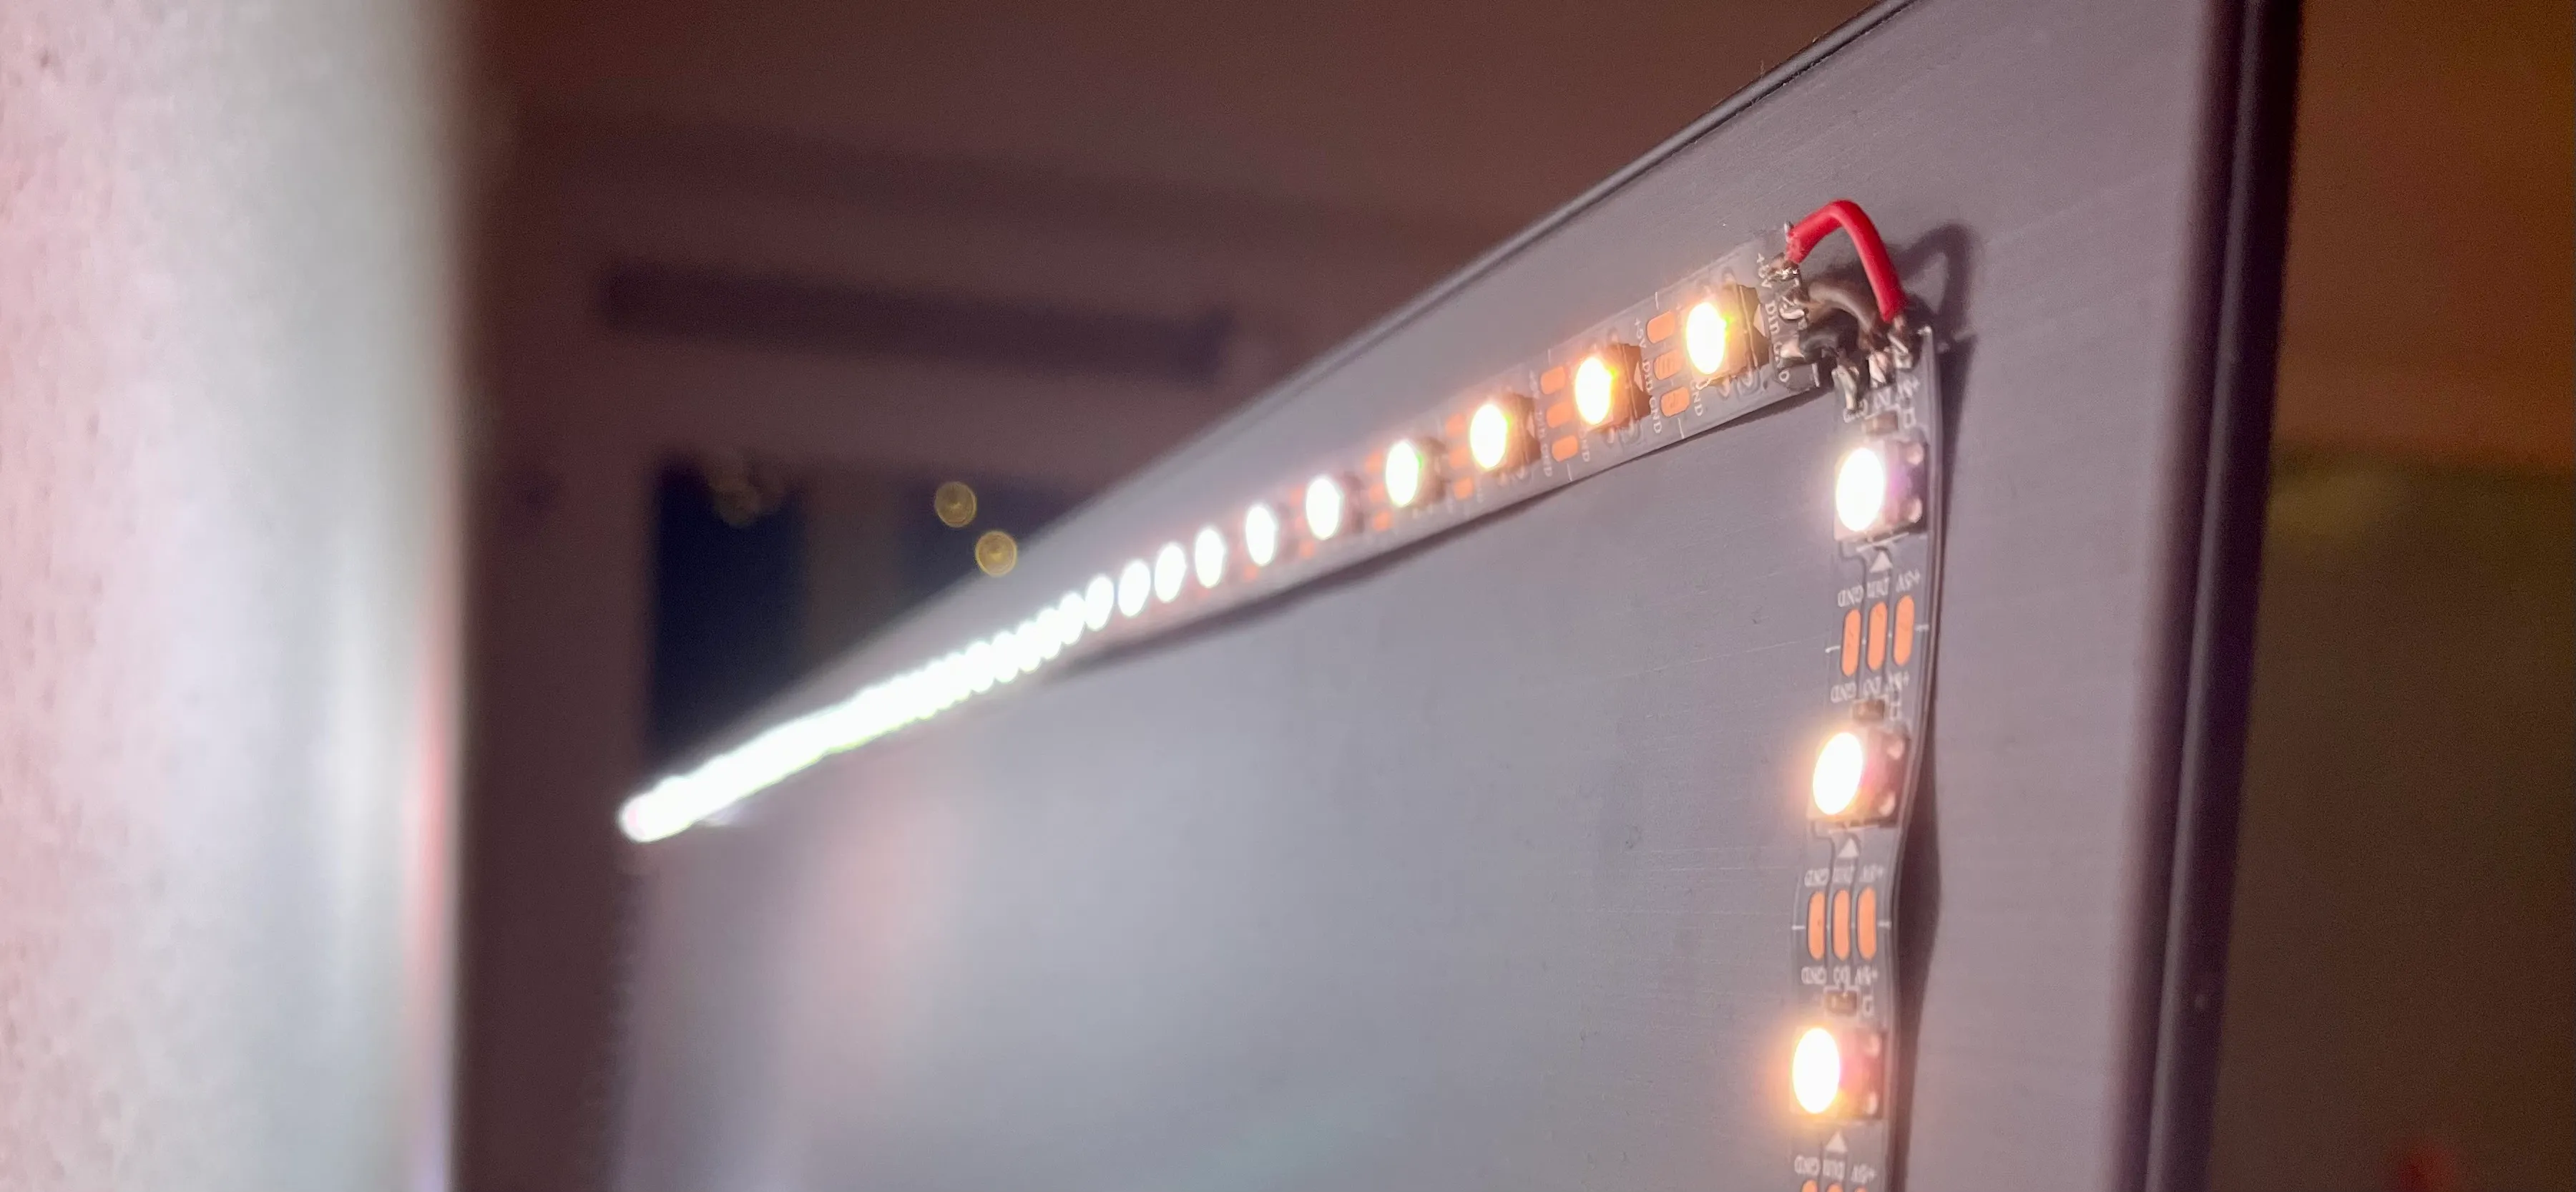
Once you have set up WLED, mount the light strip behind the TV.
Set up HyperHDR
Next, you will need to set up HyperHDR, an open-source project based on Hyperion, which also supports HDR tone mapping for better color reproduction. To set up HyperHDR, you will need to install Raspberry Pi OS Lite and follow the installation manual on the HyperHDR GitHub page.
Once you have installed HyperHDR, you can open the web UI at http://ip-of-your-pi:8090 and configure the USB capture card. Go to Video capturing, select your device, choose a low resolution and a high frame rate for optimal performance (such as 640x480@50), and enable HDR to SDR tone mapping.

Next, go to LED Hardware and connect your WLED instance:
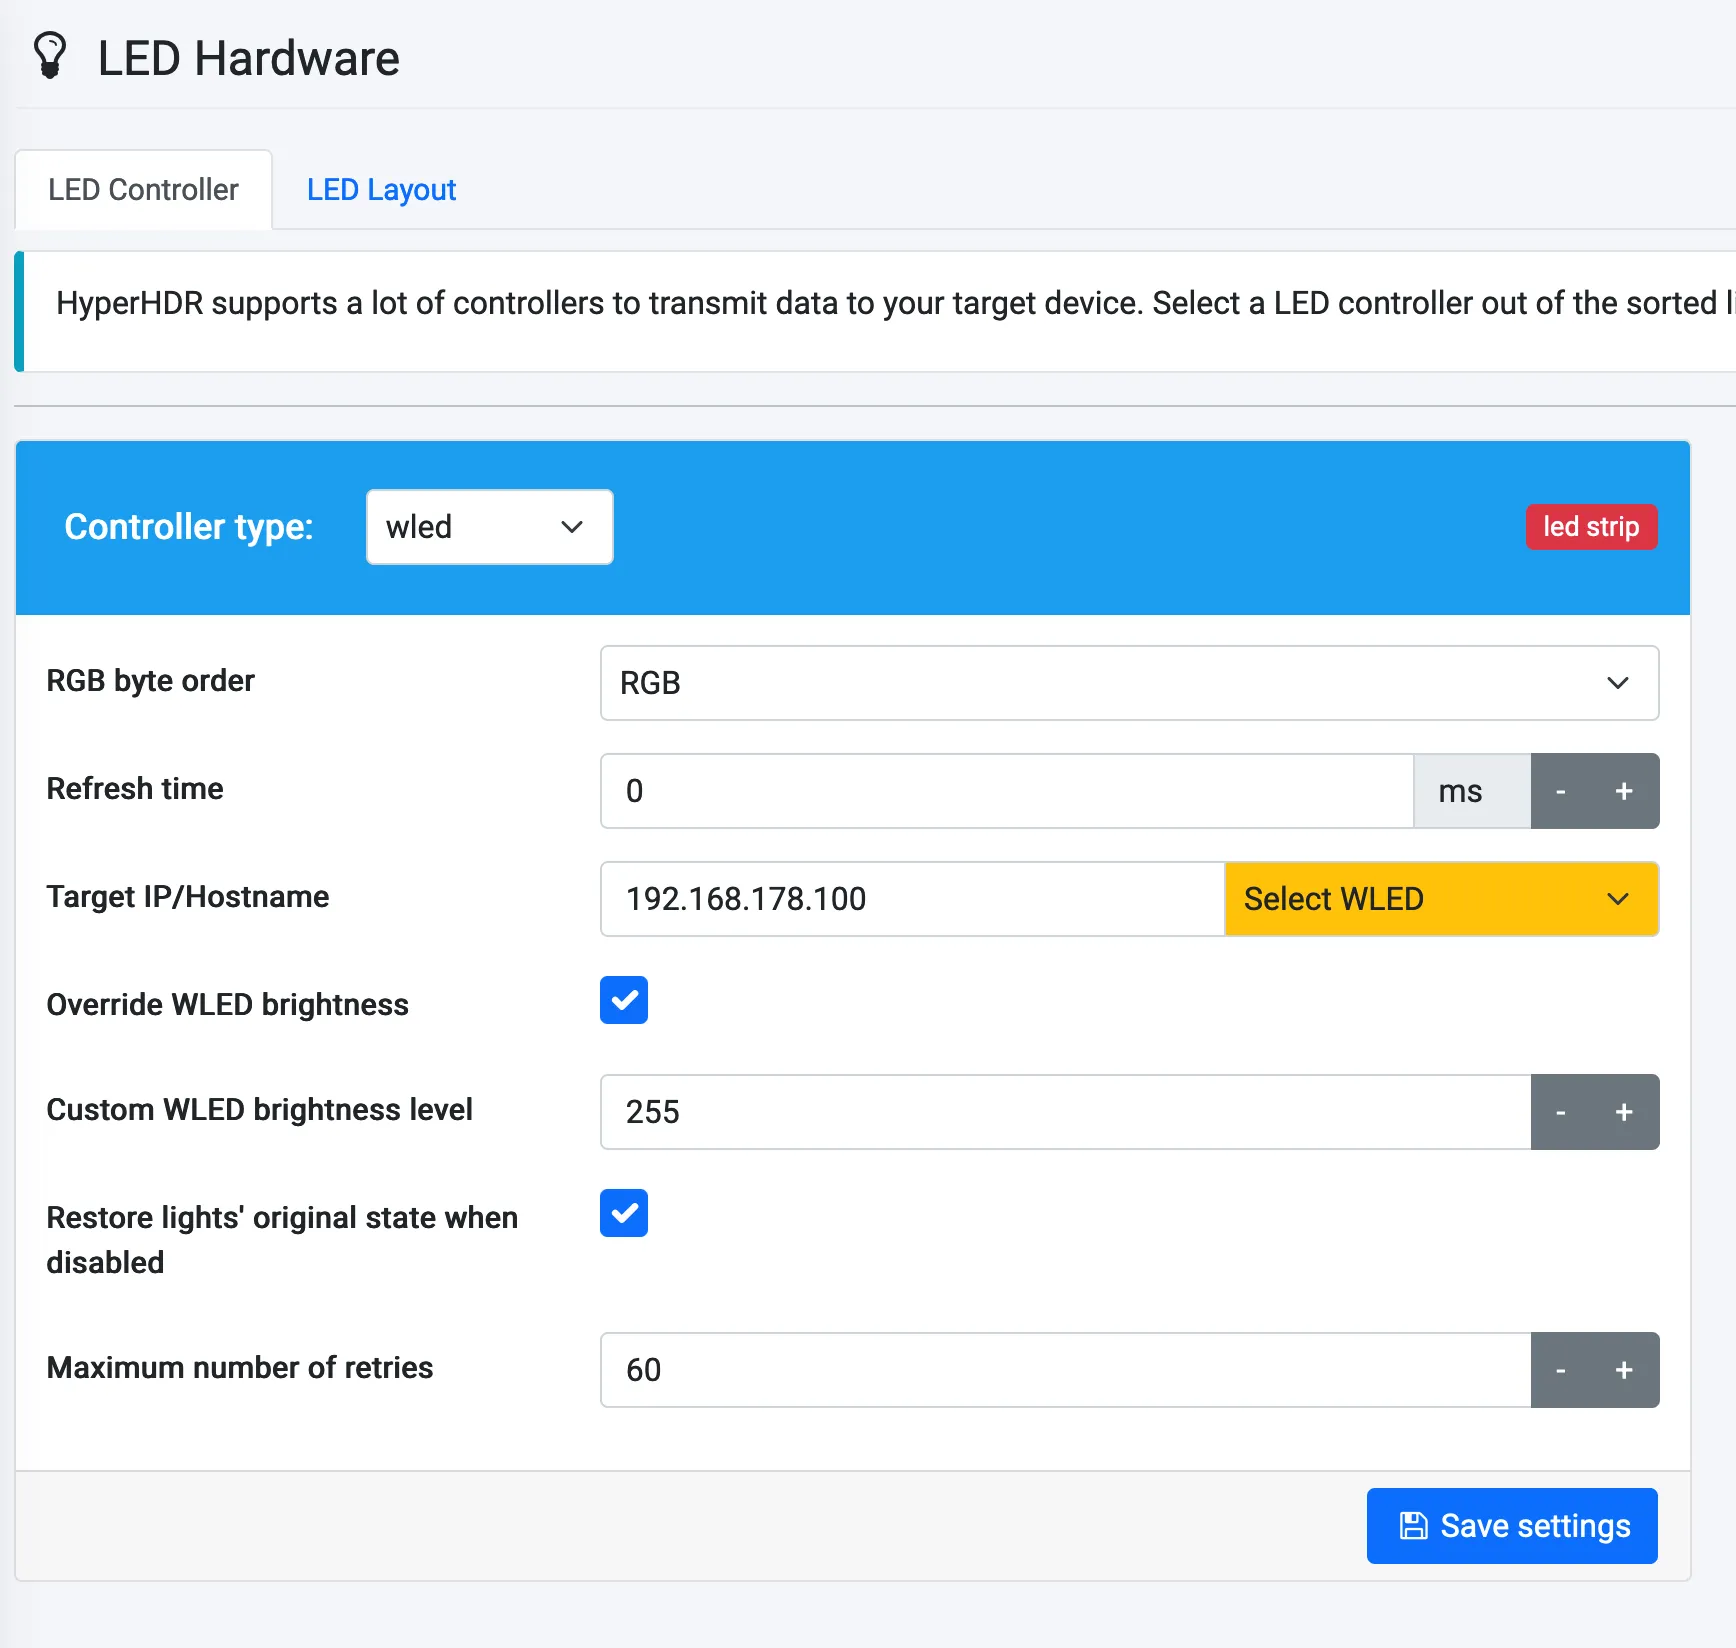
Now the interesting part begins. Configure the LED Layout by changing the tab at the top, and enter the amount of LEDs on each side. You can shift the input position around and configure gaps, the spacing from the border etc. Just play around with the options until it matches your setup.
Mine looks like this:

Finally, save the changes and start a video to enjoy your new ambilight. To extend the ambilight to more devices, you can add an HDMI switch before the splitter, which usually comes with four inputs, enough for most use cases.
Extend it
In conclusion, building an ambilight using a Raspberry Pi and WLED is an affordable and easy way to enhance your viewing experience. While there are several methods for building an ambilight, using an HDMI grabber is an excellent choice because it is easy to set up and affordable. With a little bit of configuration, you can enjoy your new ambilight and immerse yourself in your favorite shows and movies.
Update 2024/07/21: added amazon links and wiring schematics