Hi, I'm Tom, a developer and smart home enthusiast.
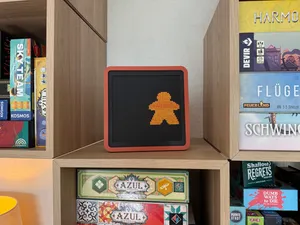
A 3D-printed LED matrix traffic light but with a meeple. And random board game quotes.
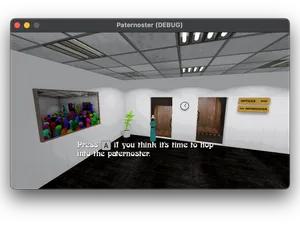
I took part in the GMTK Game Jam 2025.
iSponsorBlockTV runs in Docker to skip sponsor segments on any Smart TV.
OpenAI generates a unique welcome message each time you arrive home.
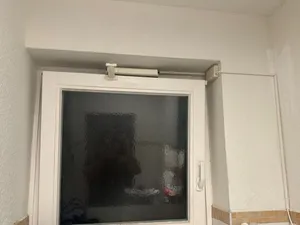
A Shelly relay and humidity sensor automate the bathroom window.
Tailscale Funnel exposes Home Assistant without port forwarding or a VPN.
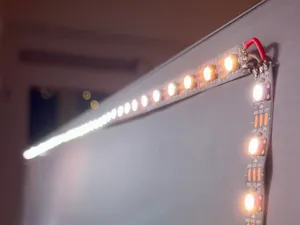
HyperHDR and WLED bring bias lighting to any HDMI 2.1 source.
Tesseract and OpenCV extract a cafeteria's meal plan from a photograph.
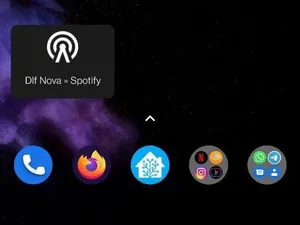
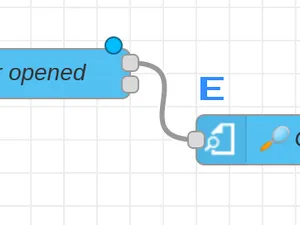
Node-RED automatically saves the current radio song to a Spotify playlist.
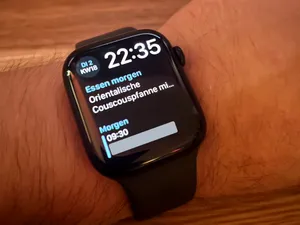
Alexa announces who is home and how long others have been gone.
Home Assistant scenes snapshot and restore a room's full light state.
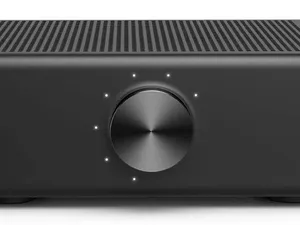
Alexa talks through its own speaker while music routes to the receiver.
An HX711 scale counts remaining water bottles and sends low-stock alerts.
A template cover refuses to open if the balcony door is ajar.
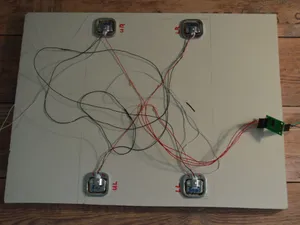
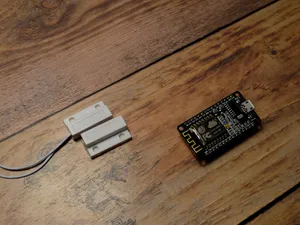
Magnetic contacts and an ESP8266 report every window's open state.
A Sonoff Dual replaces the projector screen's factory controller.